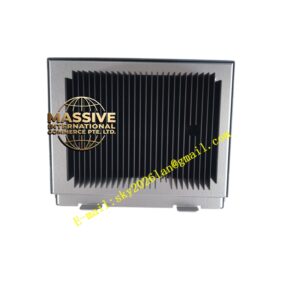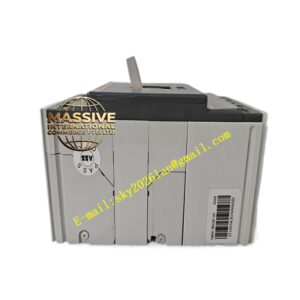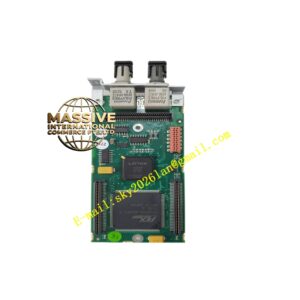



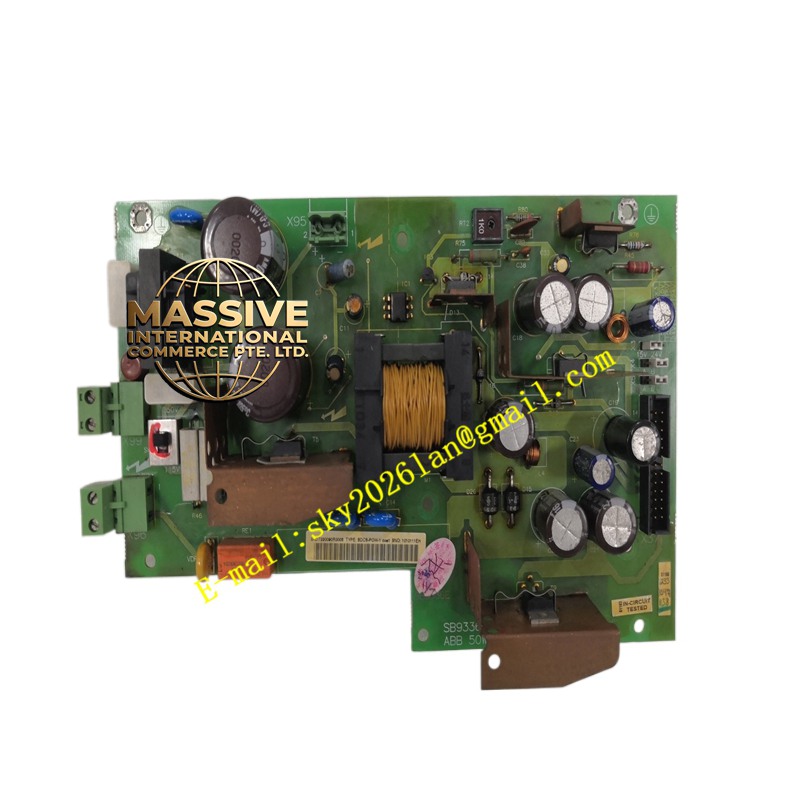
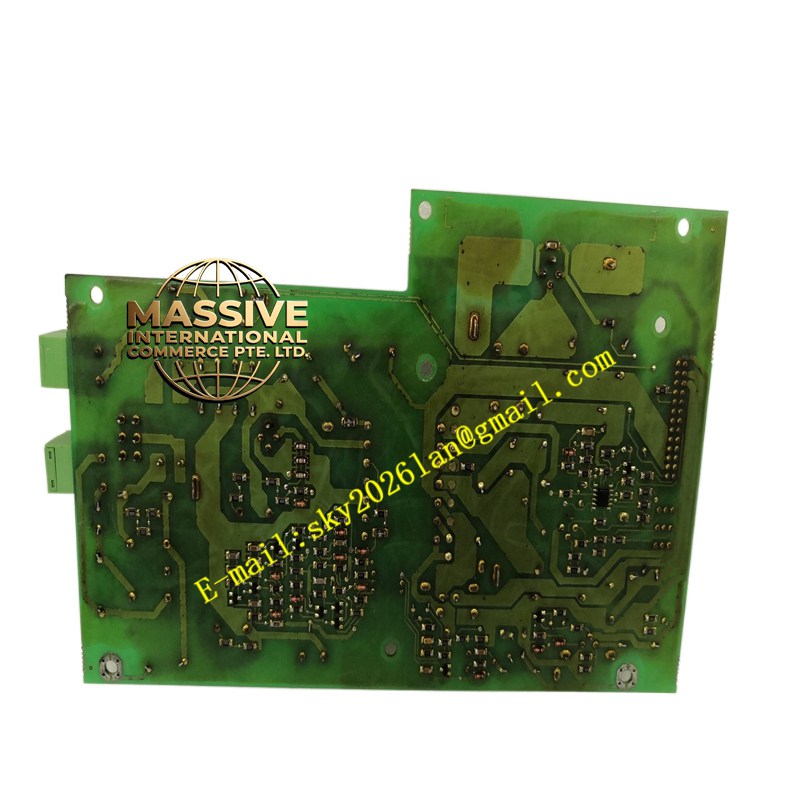
Description
ABB 3ADT220090R0003
- Technical Specifications (typical SDCS-POW-1 for DCS400 family):
- Input Voltage: 100–240 V AC (85–264 V AC), 50/60 Hz (some versions 24 V DC option — check label)
- Input Power: ≤30 W typical (quiescent + drive logic load)
- Output Rails:
- +24 V DC: 1.5–2 A (typical) — for DI/DO, encoder, comms, panel
- +5 V DC: ≈1 A — CPU, CPLD
- +15 V / –15 V DC: ≈0.3 A each — analog front-end (armature current/voltage measurement, speed ref)
- Gate-drive isolated supplies: pulsed 15 V to firing cards (derived internally)
- PSU OK Contact / Signal: Open-collector or relay (model dep.) — healthy = high / closed
- Hold-up Time: ≥20 ms @ full load (allows orderly fault handling if AC control voltage dips)
- Indicators: PSU LED (green = OK; off/red = fault)
- Mounting: Edge-connector into NAMC-01 (DCS800) or into main CPU PCB socket (DCS400 compact)
- Operating Temp.: 0 °C to +55 °C (–20 °C to +70 °C storage)
- Certifications: CE, UL, cUL, C-Tick
- Functional Features / Application / Material / Structure / Working Principle / Installation / Precautions:
- Used in ALL DCS400/DCS800 drives — if drive shows “POWER FAIL” or won’t enable → check SDCS-POW-1 LED; if off → measure AC input to PSU; if AC present & LED off → suspect failed SDCS-POW-1
- Spare Policy: Keep one SDCS-POW-1 spare per DCS400/DCS800 drive population — common wear item (capacitor aging after 10–12 yr)
- Replacement: Power down drive → discharge DC link → unplug old SDCS-POW-1 → seat new → verify PSU LED green before re-applying control voltage
- Precaution: Verify input voltage range matches site (100–240 V AC universal — most are; some early had 110 V AC only — check label). Applying 230 V AC to 110 V only version destroys it. Ensure 24 V DC control voltage (if version has DC input) is correctly phased. After replacement — re-download parameters if CPU lost config (usually retained by NVRAM if supercap was ok; if totally dead re-load from backup).
- Keep drive firmware/parameter backup (.dcf file) — if replacing both CPU & POW-1 → need to reload.