


Description
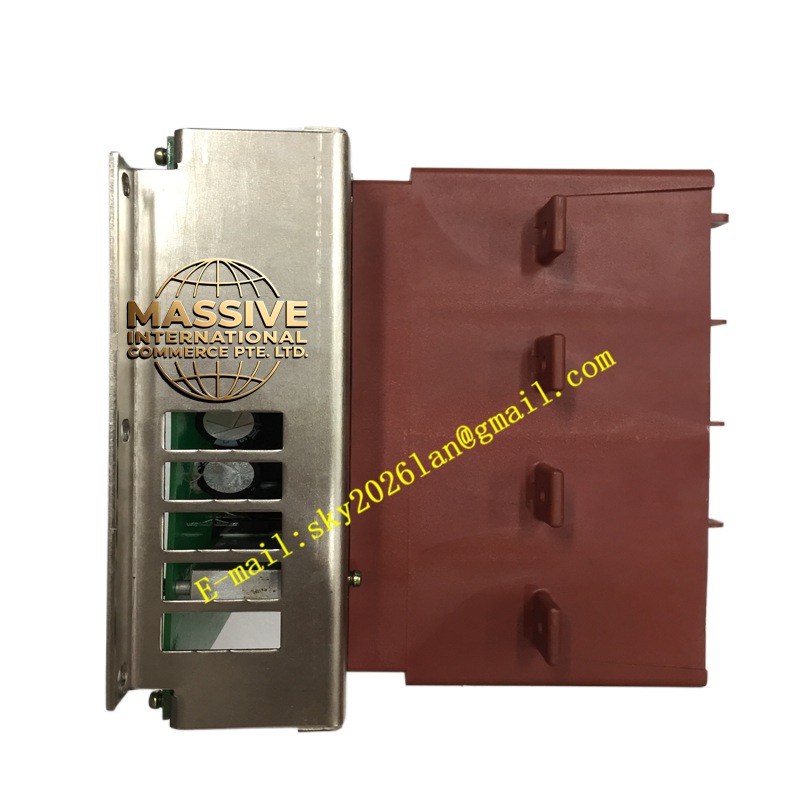
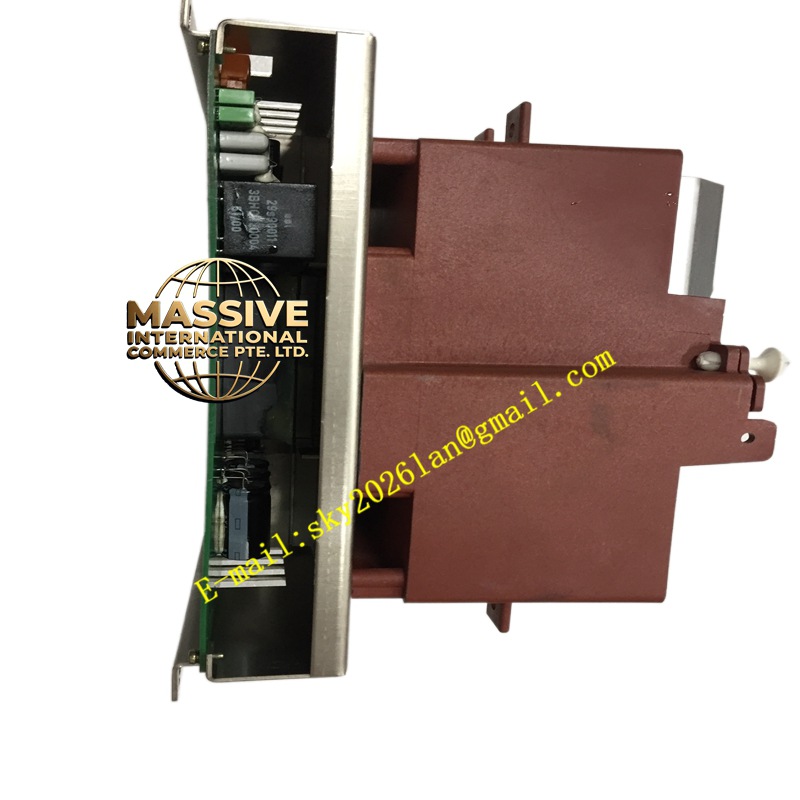
ABB 3BHB005243R0105
- Functional Features:
- First Echo / Last Echo Selection: Useful when measuring through semi-transparent material (e.g., thin plastic film — first echo = film, last echo = backing surface) — not for thick opaque though
- Blind Zone: Programmable minimum distance (e.g., ignore <0.3 m to exclude nozzle / sensor protrusion into silo)
- Averaging / Damping: Moving average filter (1–99 samples) to smooth reading on vibrating targets (e.g., crane)
- Signal Strength Indicator: Internal bar graph / register — helps verify adequate return during commissioning (should be ≥good SNR — if weak, clean lens or check target reflectivity)
- Lens Contamination Warning: Some versions monitor return signal strength trend → if sudden drop → alarm (suggest cleaning)
- Window Blind / Suppression: Ignore returns closer than set distance (useful if front window reflection is stronger than weak target return at long range — rare but configurable)
- Application Scenarios (Reiterated with Tips):
- Silo Level (Solids/Liquids): Mount top-center; ensure beam not obstructed by internal ladder / crossover — if obstruction present consider side-mount angled or guided wave radar. For dusty: add air-purge collar. Calibrate: measure known empty distance (D_empty) → set 4 mA = D_empty (or full — per your convention; usual: 4 mA = empty (max distance to surface), 20 mA = full (min distance)) → set measuring range = D_empty – D_full.
- Stockpile Volume: Mount on fixed or movable mast — collect distance points along transect → trig volume calculation in ABB cpmPlus or 3rd-party volumizer SW.
- Tripper Position: Aim at fixed reflector tape / contrasting stripe on structure → distance = tripper offset → feed to PLC for automation.
- Anti-Collision (Cranes): Two opposing cranes each have laser aimed at other’s reflector → if distance < setpoint → slow / stop.
- Material & Structure:
- Body: Anodized Al (gray) or SS316L — front window AR-coated fused silica
- Mount Bracket: Pan/tilt with lock nuts — allow fine aim (critical — 1 mrad beam @50 m = 50 mm spot — misaim 1° → miss target entirely on long range!)
- Cable Gland: M12 (profibus-style) or M20 PG — use shielded twisted pair for 4–20 mA; separate shield for RS-485 if used
- Window: Removable for cleaning — use lens tissue + isopropyl alcohol; do NOT touch coated surface with fingers
- Working Principle (Time-of-Flight):
Laser diode emits very short IR pulse (few ns) → start internal timer → pulse travels to target → reflected/scattered → portion returns to detector → stop timer → Δt measured → distance = (c × Δt) / (2 × n_air). For phase-shift type (LTF short-range): modulate CW at RF f_mod → measure phase lag ϕ of returned modulation → fractional wavelength = ϕ/360° → distance = (ϕ/360°)×(λ/2) + N×λ/2 (N resolved by coarse ToF or multi-frequency). Result converted to engineering units → output as 4–20 mA &/or digital.
- Installation Requirements:
- Mount bracket on rigid structure (minimal vibration — if vibrating >couple Hz consider shock-mount or shorter averaging). Aim laser perpendicular to target surface (normal incidence gives strongest return).
- For silo: mount top-center; ensure no internal obstruction in beam path. If silo has cone-in-cone or crossover — verify clear line-of-sight.
- Connect 24 V DC (fused 0.5–1 A slow-blow) — observe polarity. For 2-wire 4–20 mA: PSU (+) → AI+ (controller) → sensor (+) → sensor (–) → AI– (controller) → PSU (–). For 4-wire active: separate PSU & output isolated.
- Power up → enable red alignment laser (menu or pushbutton) → adjust pan/tilt until red dot hits target center → lock swivel bolts
- In menu (via front keys if available or via RS-232 PC software): set measuring range (D_min, D_max), output scaling (4 mA = D_max (empty), 20 mA = D_min (full) — or reverse per plant convention), averaging (e.g., 5–10 samples), blind zone (if nozzle protrudes), enable/disable first/last echo
- Verify live distance reading & mA output — place temporary target at known distance → check reading matches
- For dusty environment: install air-purge collar — connect clean dry instrument air (≤1 bar, 2–5 L/min, filtered ≤5 µm) — keep lens clear
- Disable alignment laser for normal operation (some auto-disable after 5 min; best practice turn off to avoid distraction / Class 2 exposure)
- Precautions:
- Laser Safety: Although Class 1 (invisible 905 nm) — do NOT view directly with optical aids (binoculars/telescopes) which can focus even Class 1 to hazardous level. Red alignment laser is Class 2 — avoid staring into beam >0.25 s.
- Aiming is Critical: Narrow beam — misaim → sees wall / nothing → reads error or max range (depending on fail-mode config). Double-check with temporary target at mid-range during commissioning.
- Target Reflectivity: Very dark/absorbing targets (black coal, wet slag, some plastics) give weak return → max range reduced (sometimes to 30–50 % of spec). If unreliable consider adding retro-reflective tape / corner cube at target (if process allows — not in food/pharma contact areas).
- Lens Cleaning: Dust/deposit attenuates return → reading drift / dropout. Schedule periodic cleaning (with lens tissue + IPA). Air-purge collar greatly extends interval.
- Blind Zone: If sensor protrudes into silo (e.g., through roof nozzle) set blind zone > nozzle length — else sensor sees nozzle bottom as “surface”.
- Temperature: In cold climates (<–10 °C) heated window / heater option may be needed to prevent condensation on front lens — check heater enable if equipped.