


Description
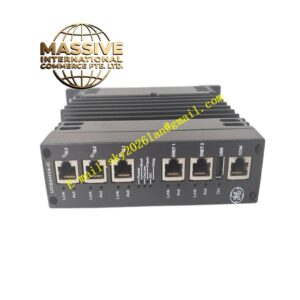
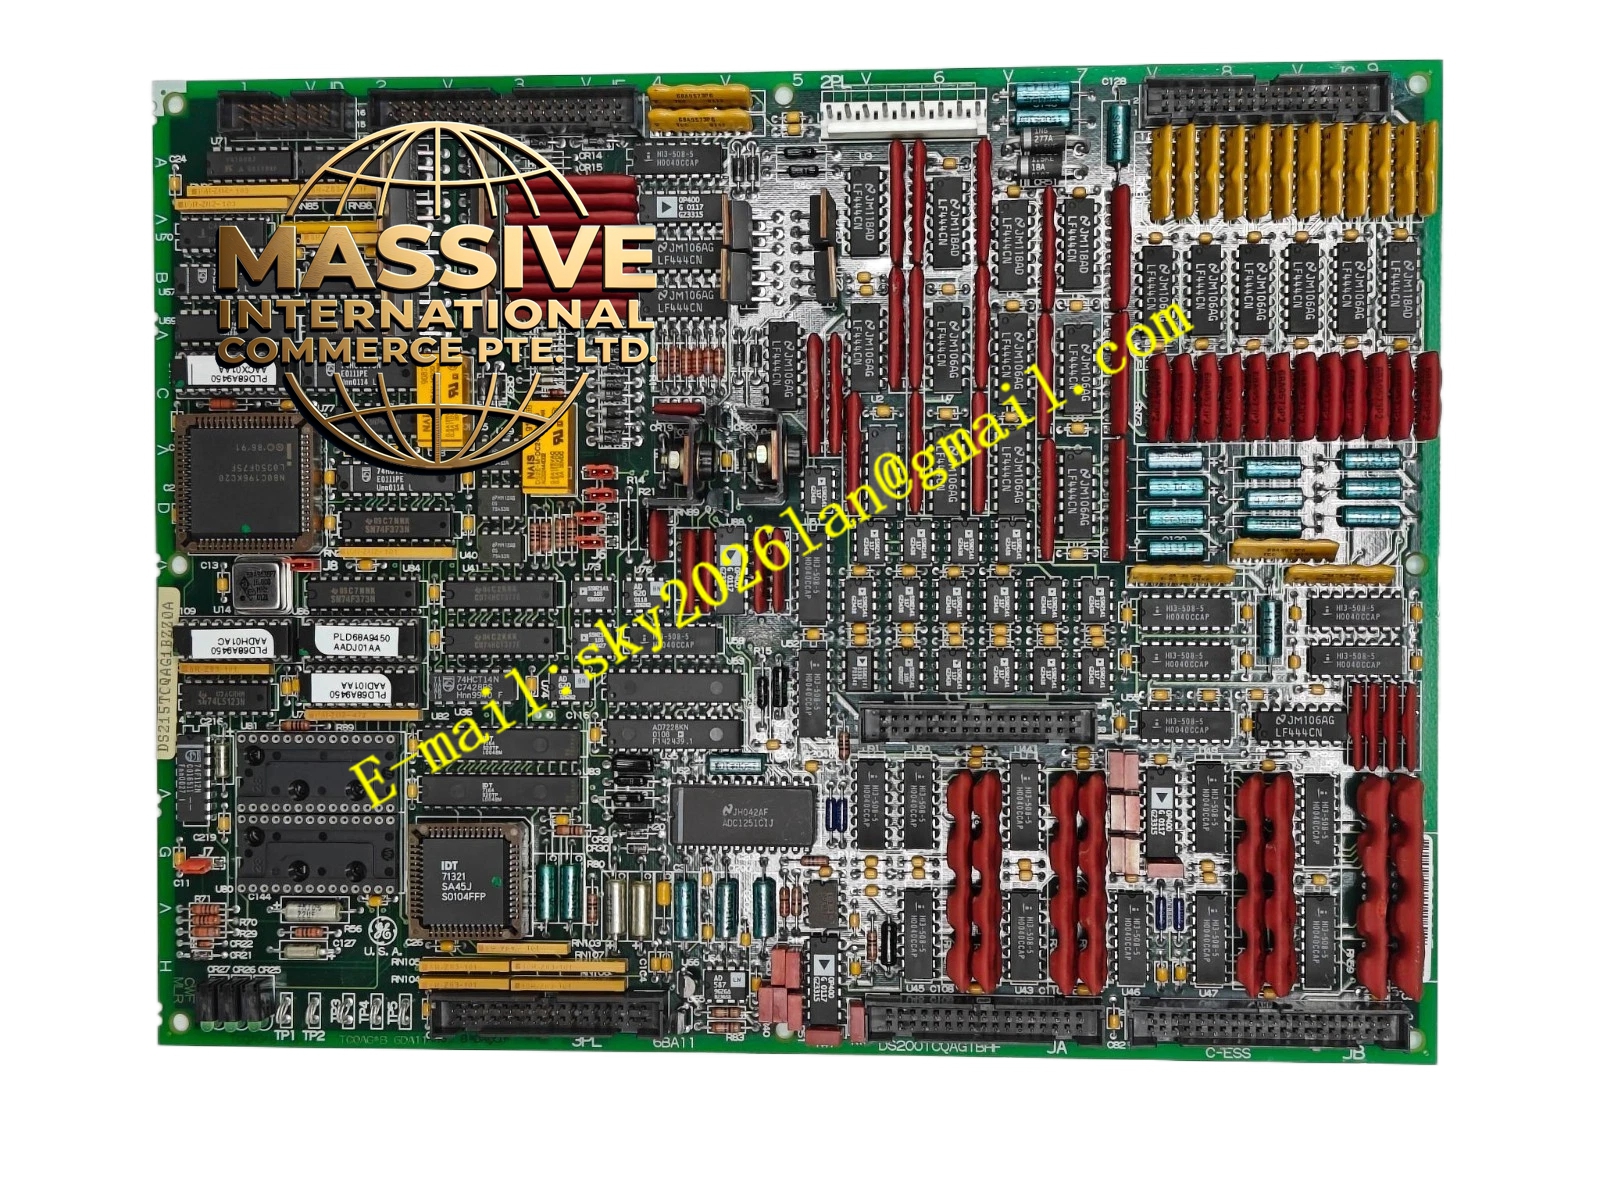
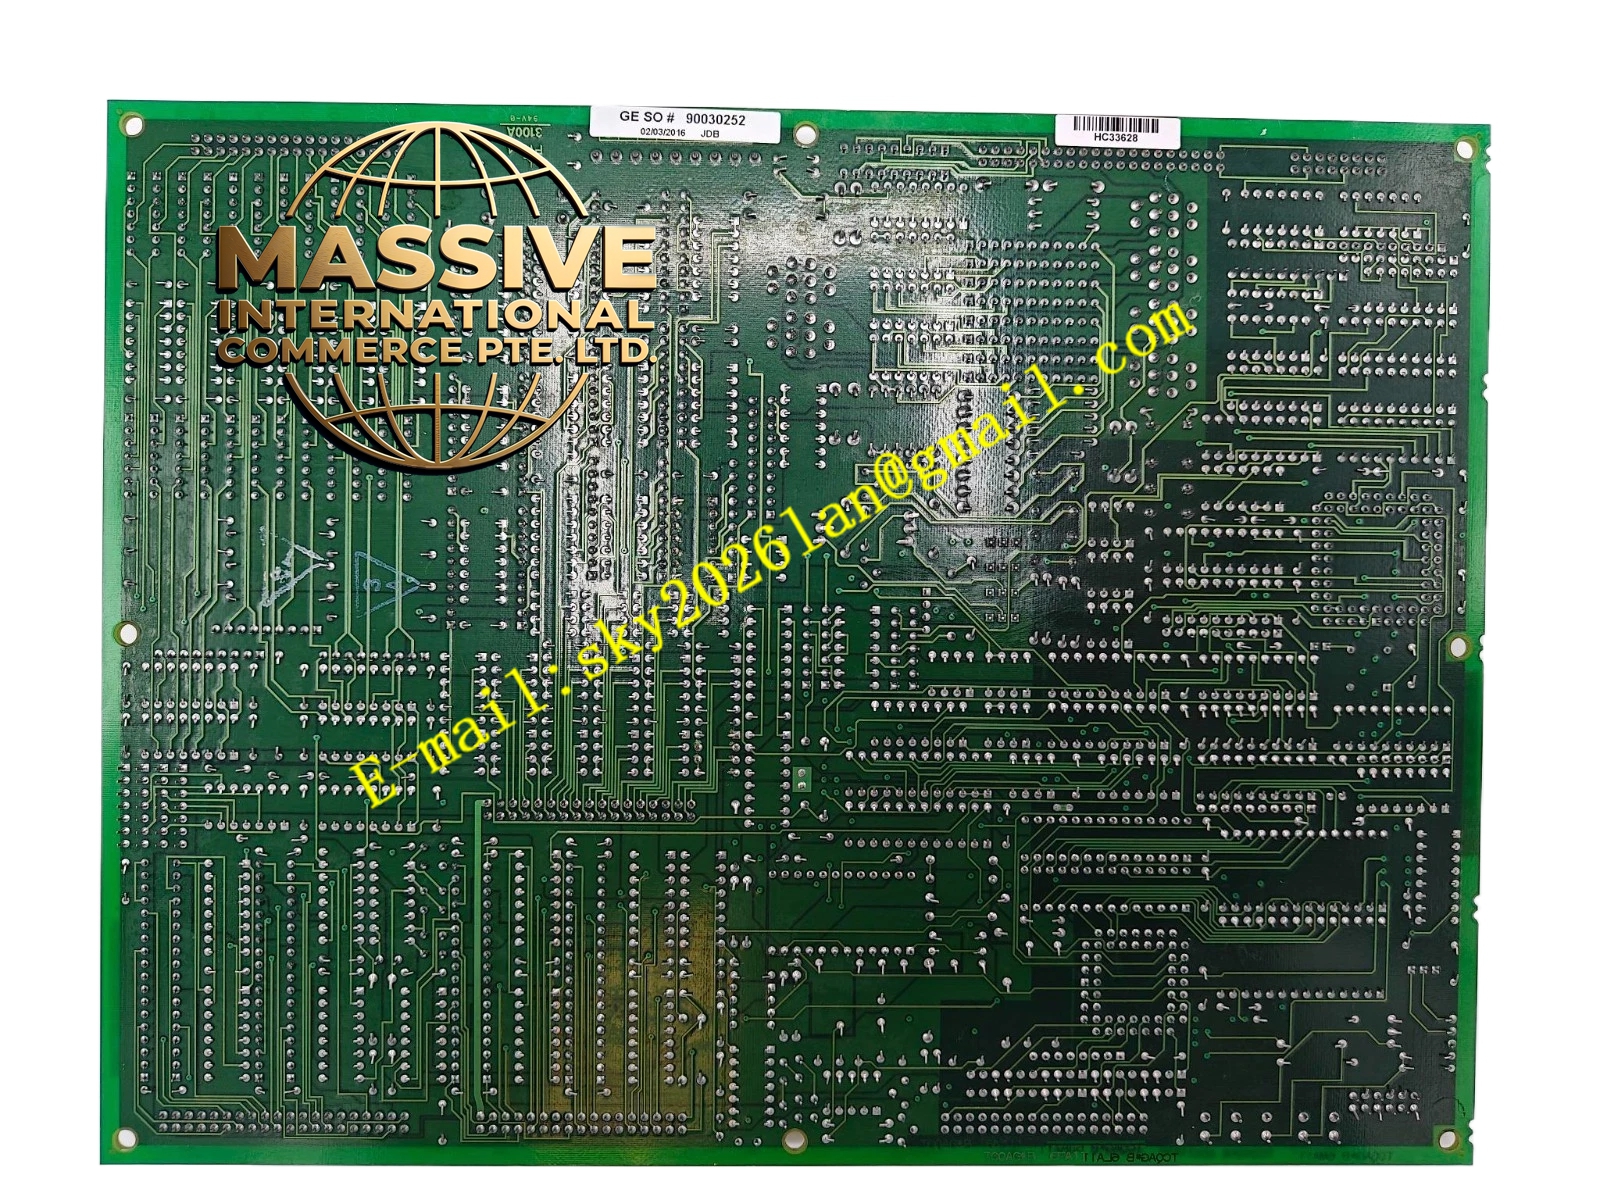
GE DS200TCQAG1ABB
Technical Specifications
- Board Type: RST Analog I/O Board (TCQA)
- Series Compatibility: GE Speedtronic Mark V
- Connectors: Multiple 34-pin and 40-pin connectors.
- Indicators: Integrated LED status lights.
Functional Features
- Scales and conditions LVDT inputs, servo valve outputs, thermocouples, 4-20 mA signals, vibration inputs, relay driver outputs, pulse inputs, voltage inputs, and generator/line signals.
- Transmits conditioned signals to the STCA board via the 3PL data bus connector.
- Communicates with the TCQC board via the JE connector.
Application Scenarios
Exclusively deployed in power generation plants utilizing GE Mark V turbine control systems.
Performance Parameters
- High-precision analog signal scaling with minimal latency.
- Deterministic processing speed for real-time turbine safety and control.
Material Composition
Industrial-grade multi-layer printed circuit board (PCB) featuring advanced microprocessors and protective conformal coating.
Structural Characteristics
Standard Mark V rack-mountable form factor equipped with multiple specialized backplane connectors and diagnostic LEDs.
Working Principle
Acquires raw analog signals from field sensors via terminal boards, applies necessary scaling and conditioning, and routes the digital data across the core bus for the central processor to execute control algorithms.
Installation Requirements
- System must be completely powered down before replacement.
- Carefully document and label all ribbon cable connections before removal.
- Match all hardware jumper settings exactly to the original board.
Usage Precautions
- Strictly observe Electrostatic Discharge (ESD) protocols.
- Ensure no loose screws or washers fall into the drive interior during installation.
- Use two hands when securing screws to prevent dropping hardware.